Discord is one of the most popular messaging apps. Amazon Prime is one of the most popular OTT products. They are a match made in heaven if you want to watch some movie or program with friends but can’t get together with them in real life.
No matter where your friends live, you can watch something with them online and enjoy the experience.
However, streaming Amazon Prime over Discord can be a little tricky for people who haven’t done it before. Here are some steps on how to do it:
Table of Contents
Step 1. Get Amazon Prime
The first step is to make sure you have an active Amazon Prime subscription so you can access all of the content available on the platform. While a Discord Nitro subscription isn’t necessary, it can certainly improve the overall experience and streaming quality. If you plan to watch movies with your server members often, consider getting a Nitro subscription.
Step 2. Use the Browser
Pick a browser to stream Amazon Prime from. You can use most of the popular browsers but we recommend either Google Chrome or Firefox. Before you attempt to stream, go to the browser settings and disable the ‘Use Hardware Acceleration When Available’ option. You will find this option in Advance System settings on most browsers.
Doing so will help you overcome any black screen issues that may pop up during streaming.
Step 3. Set Up Your Discord
The next step is to log into your Discord Web or Desktop application. Once you have done that, follow the steps mentioned below:
- Go to the Gear Icon next to your user name at the bottom left side of your application screen.

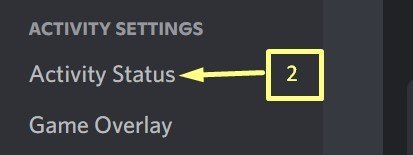
- Scroll down the ‘My Account’ page and find the ‘Activity Status’ option.
- Click on ‘Add It’ on the Activity Status page.
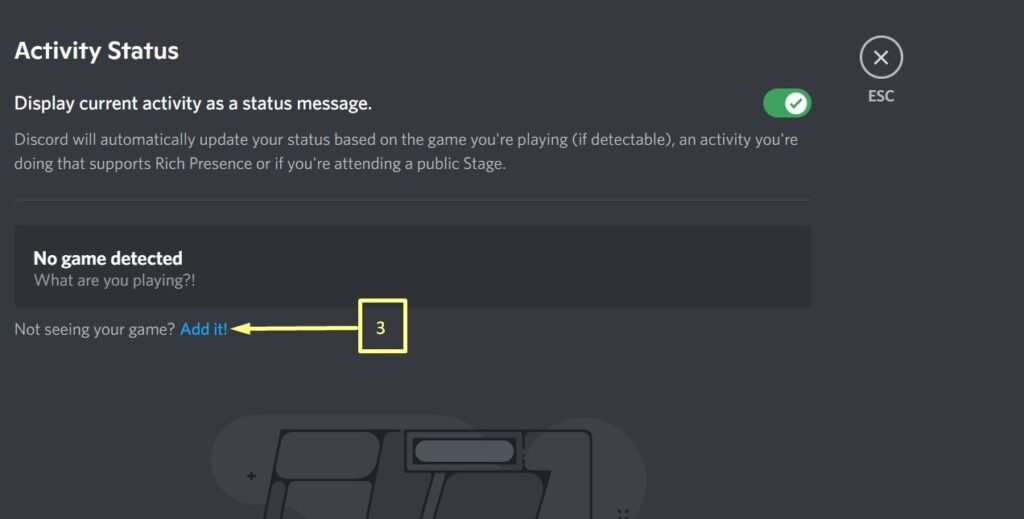
- You’ll see a drop-down menu when you click on Add It. Select the browser in which you have Amazon Prime open.

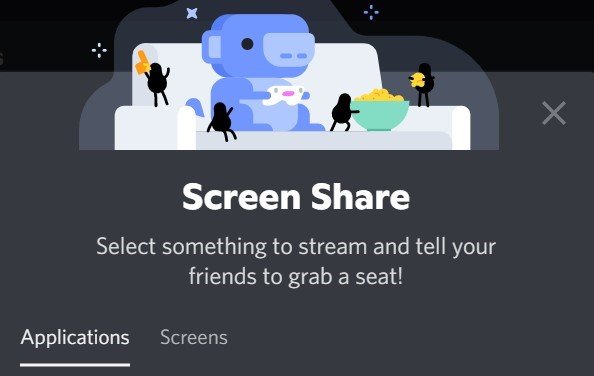
- Once you have done this, visit your server and get to the Voice Chat channel on your server. You will see the screen sharing option the moment you enter the voice chat. Click on the screen sharing option.

- When you click on the Screen option, you will see a pop-up window with the applications or screens listed. You just need to click on the browser application you are running Amazon Prime on.
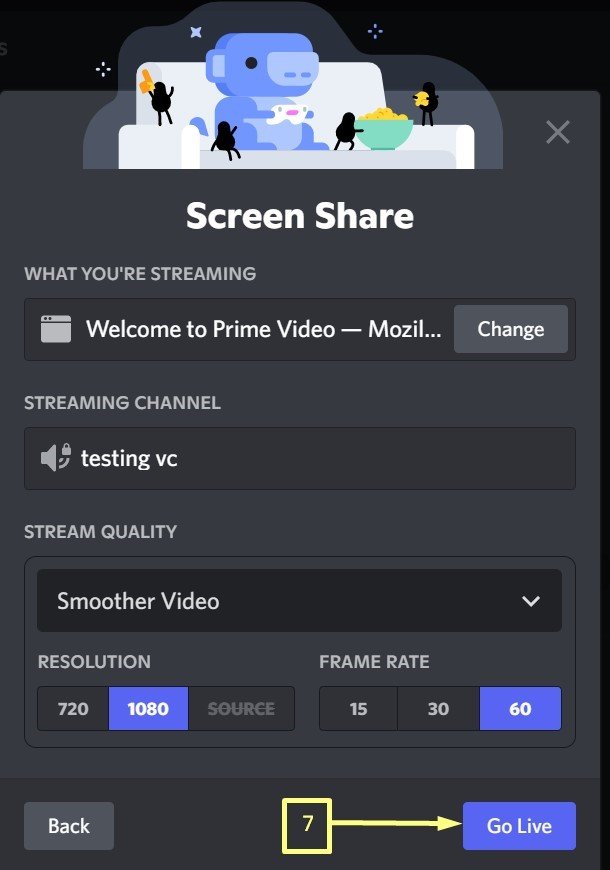
- You just need to select the application and Discord will direct you to the next page. Once there, just review the settings before clicking on ‘Go Live.’ The settings will differ based on the server status. The basic settings for an unboosted server are around 720 resolution and a 30 FPS frame rate. If you have a boosted server, you can go up to 1080 and 60 FPS.
Step 8. After that, you just need to switch to the application (the browser with Amazon Prime streaming) to share the movie or program with your friends on the server. All they need to do is join the VC to participate.
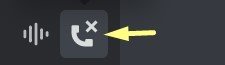
Step 9. Once the movie or program is done, you can click on the ‘End Call’ button to end the stream. That will end the stream in the voice chat and you can go back to your regular server activities.
Once you have everything set up, you just need to go to the voice chat and hit the screen share button. You won’t need to go through the setup process every time.
If you want to know more about Discord and its various features, explore the Discord category on our website.